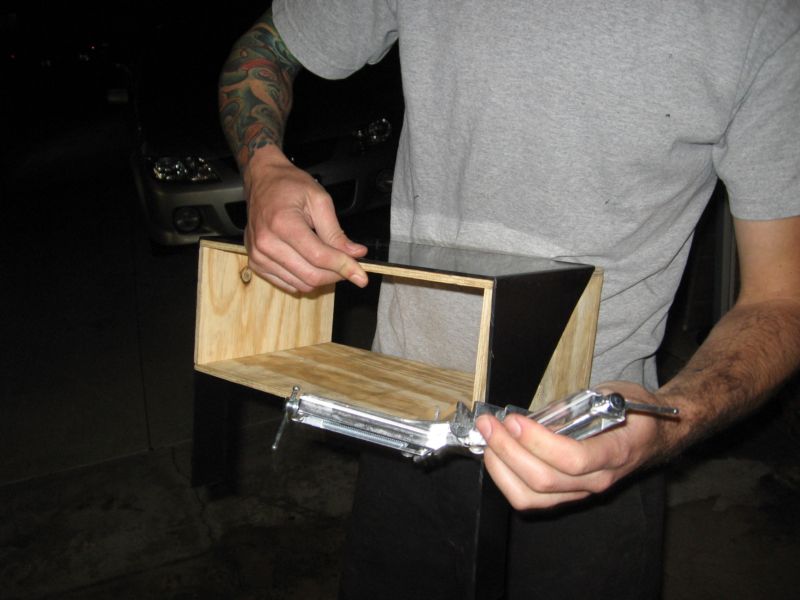
So we made the instrument panel last thuursday and I stuffed the gagues in today. Here's how it went.
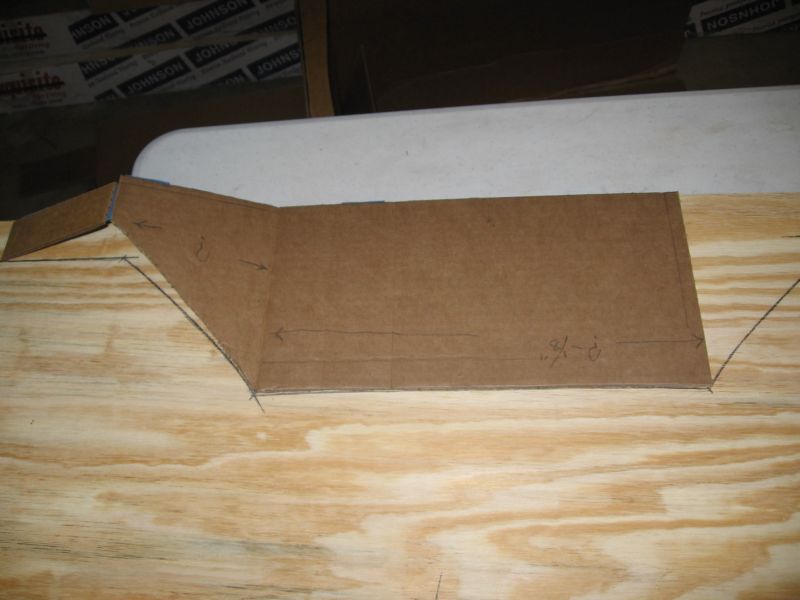
1 - After taking measurements for box dimensions, make a template and test with cardboard. Then trace cardboard template onto plywood and cut out with jig saw or band saw.
2 - Using the mystical powers of double-sided tape, attach 1/8" ABS to said template.
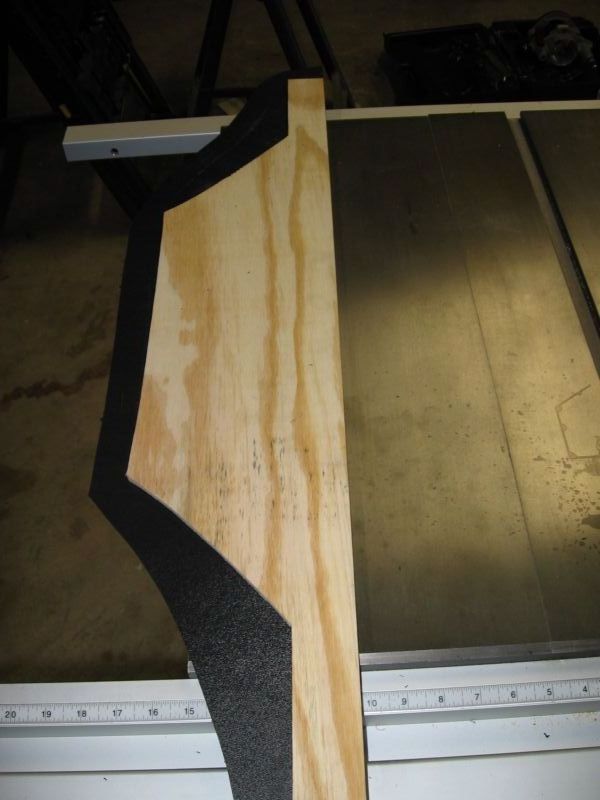
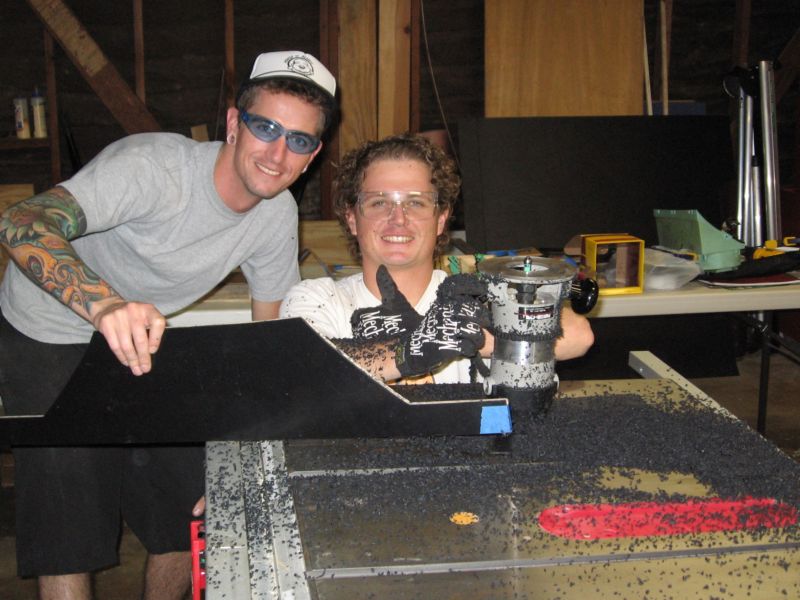
3 - Using a router with a flush trim bit and guide bearing, set router depth to follow plywood template and cut out ABS part. NOTE: You really should use a router table. However, since I don't have one yet, I firmly held the head of the router against the cast iron top of my table saw while my brother guided the part across the face. This is DANGEROUS. If you are not comfortable using a router, and even if you are, this is not a recommended "technique". Neverhteless, it worked like a charm for our purposes:
Before:
After:
4 - Unfortunatley, I didn't get any pictures of the bending process, but basically with a heat gun (not a dryer, a heat gun) and buck (template around which to bend the plastic) heat up the edges for a cuple minutes and the piece will almost just fall into shape around the buck.
Here's what it looks like mid process or so:
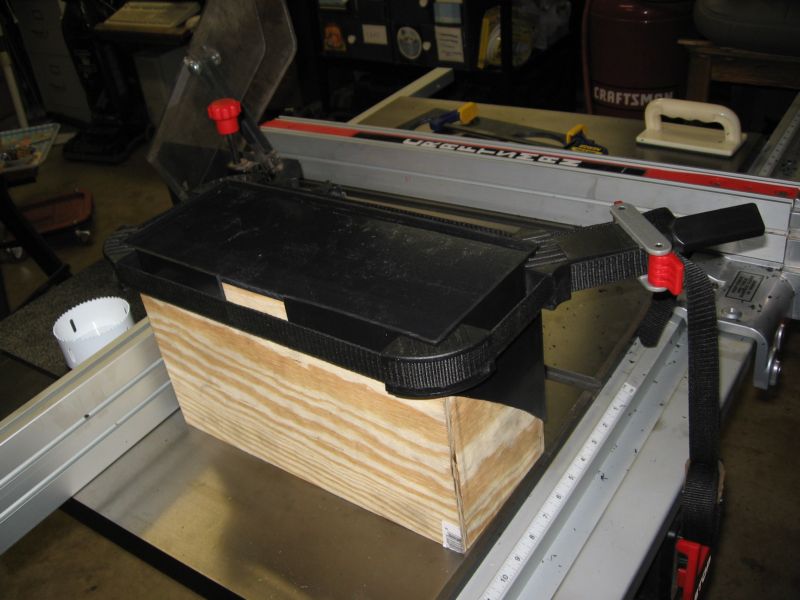
5 - Test fit the 1/4" ABS back plate into the box
6 - Protoype location of gauges.
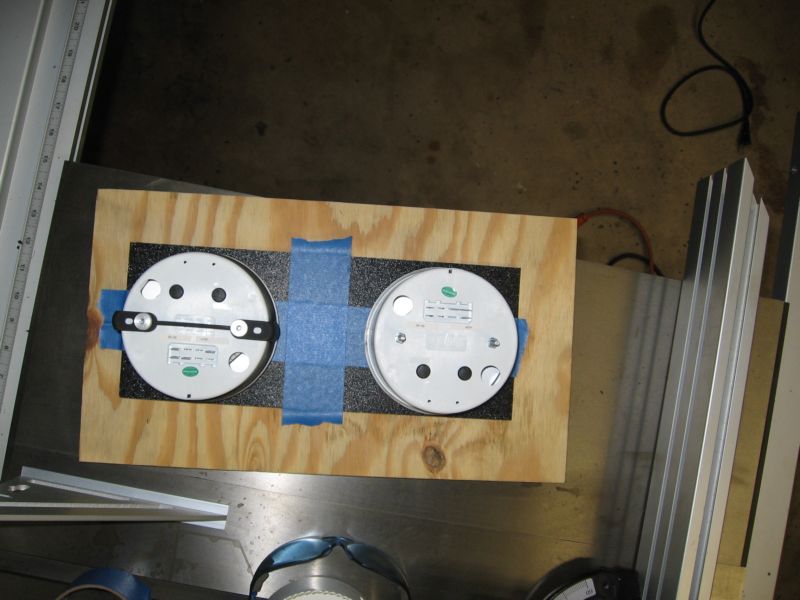
7 - Mark and cut holes for gauges and indicators.

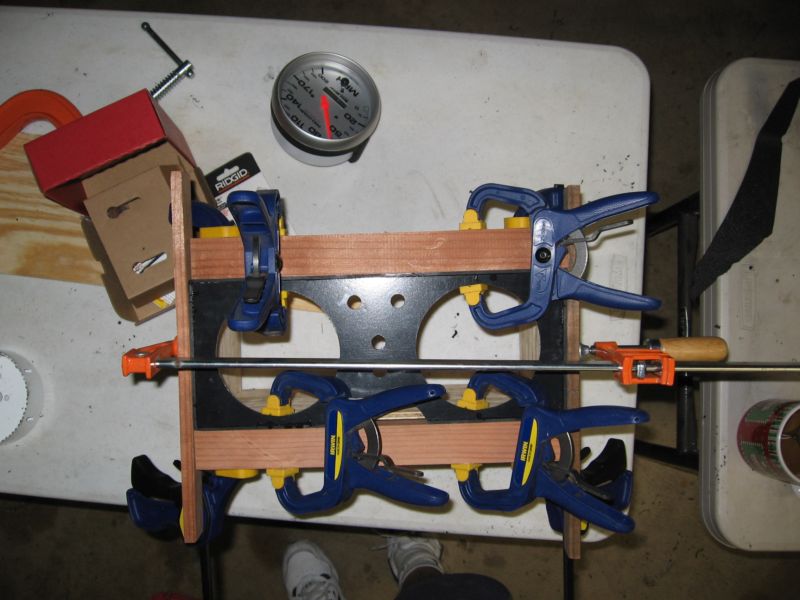
8 - Clamp backplate into box around buck and using Weldon 4 glue, apply to seam.
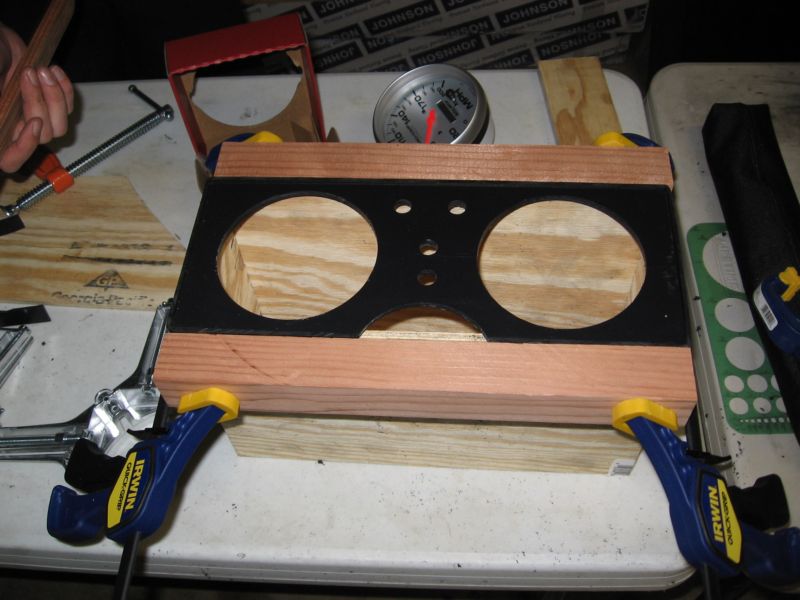
9 - Fasten gauges into openings.

It's a little ghetto, but very tough and durable, certainly good enough for a couple years until I get to the interior. If it really starts to bug me, I can take this box panel and have it made out of sheet metal easily.